How to build the website for your corporate brand

Website for your rental business
In this article, we go through the points below and show you how to use settings to build your website:
  • Enter business information
  • How to add photos and logo
  • How to edit texts on the website
  • How to publish text and images on the about us page and the help page
  • How to change the visuals of the website
  • How to automate customer communication

Contents

How to enter company information

In Settings under Company you will find General. Here you enter information about the company such as company name, brand name, organization number, address, telephone number and e-mail address. This information is then automatically added to the website and is included in emails you set up for customer communication. Here you can also add your company’s Social Media profiles, so that you link your channels to your website.

How to add photos and logo

Select Media in Settings to add images and logos to the web page. Follow these points:

  1. Click on the image / logo you want to change.
  2. In the pop-up window, you can choose to upload a new image or adjust the existing one.
  3. Use the crop function if you want to crop the image.

How to edit texts on the website

Select Static Text in Settings to edit headings, menu text and buttons.

Customize texts on the web page in a visual view. Enter headings, edit link names in the menu, change text on buttons by:

  1. Hover your mouse over the text element you want to edit and click on the green text box that appears.
  2. Enter new text and click save.

Note! Remember to press “Publish” when editing Static text.

How to publish text and images on the about us page and the help page

Select Content in Settings to publish content on the about us page and content on the help page.

  1. Select the correct page you want to add texts and images to.
  2. Enter your text and upload the image.
  3. Save or publish by pressing the buttons at the top right.

How to change the visual of the website

Select Styling under Webshop in Settings to customize:

  • Colors you want to use on texts, buttons, etc.
  • The size of the company logo on your website.
  • The buttons on the side, choose how round or square you want them to be.


Note! Remember to press “Publish” when editing Styling.

How to automate customer communication

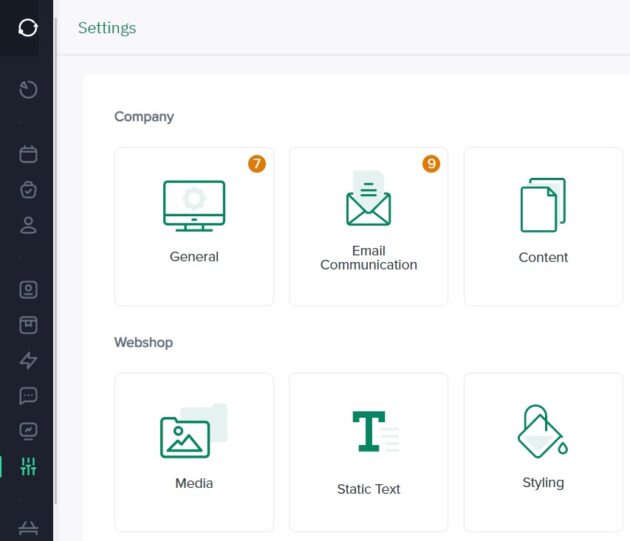
Select Email Communication under Company in Settings to configure order confirmation emails and contact form.

Order confirmation emails are configured under Order Emails. Fill in all the information about which e-mail address they should be sent from, which company name it should be sent from and which e-mail the customers can reply to. Fill in Subject to decide what should be in the subject field and enter an introductory text under Email body.

Contact form is configured under Contact us emails. At the bottom of the page here you can press the button under Enable Contact Us Form to activate it. This will then be published on your page under Help → Contact us.

After each inquiry, two e-mails are generated: one is sent to your support e-mail and a confirmation e-mail is sent to the person who contacted you via the contact form. You can adjust the sending name and the first introductory paragraph of the email that will be sent to the person who contacted you. Emails include automatic styling for your company (eg logo, primary color) and functional elements (eg user message).

Note! Remember to click Publish to publish the changes to your website.

Learn more about the rental software